
Setup with the Ardupilot system
Evo Control Cable
Last updated
Evo Control Cable
Last updated
Change the baud rate of the TELEMETRY port used for the gimbal to 921600.
For example: Similar to Section I Cable VioZio Control Cable.
Change the parameters in the MNT1 tag as follows :
MNT1_DEFLT_MODE = 3 (RC Targeting)
MNT1_RC_RATE = 90 (0 is the angle mode control, other 0 is the speed mode and 90 is the maximum speed limit)
MNT1_TYPE = 6 (Gremsy gimbal definition in the Ardupilot system)
The configuration of Uni port-B and Uni port-C of the Entire module is similar to Section 2 of VioZio Cable but differs in the following points:
Change the function for Uni port-C to Disable.
Change the function for Uni port-B to MAVlink with a baud rate of 230400.
Turn off the Force SBUS mode function in Entire.
Go to Menu -> Miscellaneous -> Gimbal control options -> Gremsy options -> Force SBUS mode.
After changing, check the function to function normally as follows:
Significance of the information:
STEP1
SETUP->USB->USB Connection Mode->MassStorage
STEP 2
Open camera MENU and navigate to: NETWORK->Cnct./PC Remote->PC Remote Function->OFF
STEP 3 – GEOTAGGING TEST
Your setup is ready to be used for geotsagging at this point
ENTIRE has Self-Test routines for GeoTagging to easily check if all wiring is working well
Make sure that all equipment is turned ON and camera is set to MASS STORAGE MODE
Click to MENU->Configuration test and let the Entire to do a self-test
At the beginning of the test, one photo will be triggered
Entire will check if HotShoe sensor has properly recognized trigger
Entire will check all necessary input data connections
In case of any problems, result will provide hints to solve the issue
Test photo will not be geotagged in the test method!
STEP 1
Open camera MENU and navigate to NETWORK->Network Option->Access Authen. Settings Open this item and in submenu DISABLE authentication Confirm all warnings OK Access Authen. Settings should be OFF
STEP 2
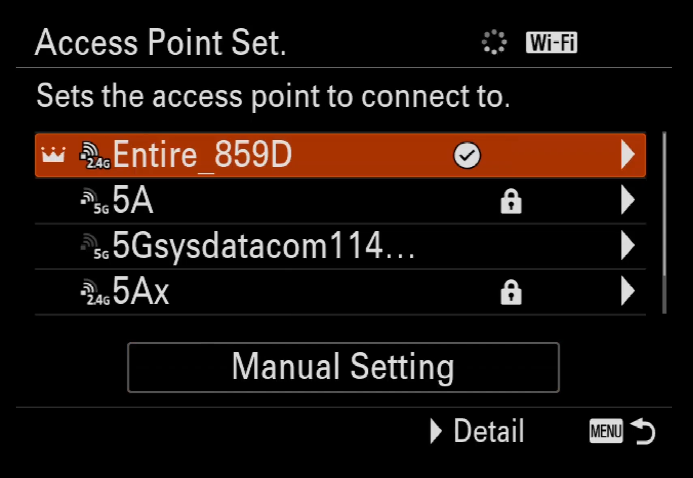
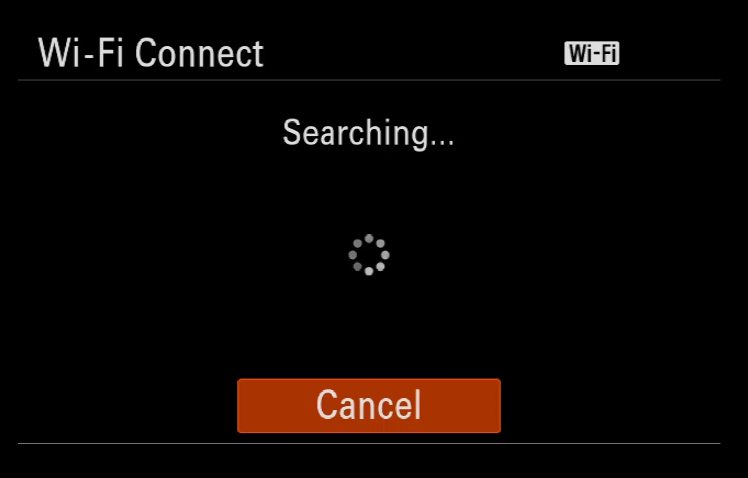
Navigate to: NETWORK->Wi-Fi->Access Point Set And enter item Wait for scan of available accesspoints
STEP 3
From the list of networks, select Accesspoint of the ENTIRE Entire_xxxx Confirm OK
STEP 4
Camera will connect the ENTIRE via WiFi now Once done, confirm OK for return to the list
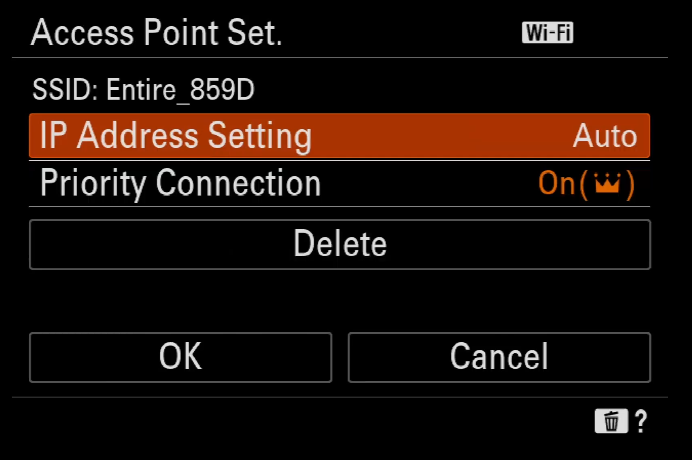
STEP 5
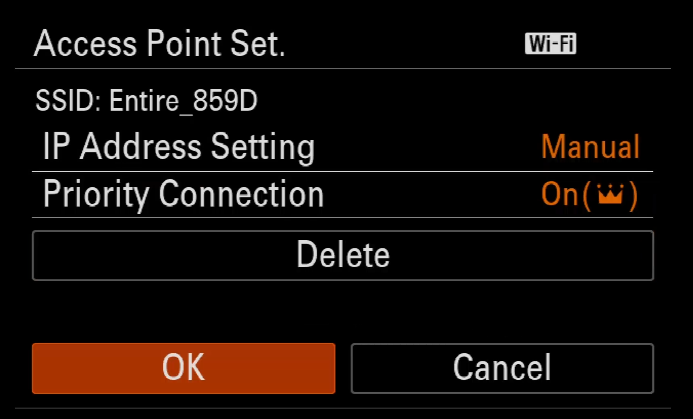
Click right (MANUAL SETTINGS) on the ENTIRE’s WiFi item to enter manual IP settings Scroll to IP Address settings “Auto” and change to “Manual”
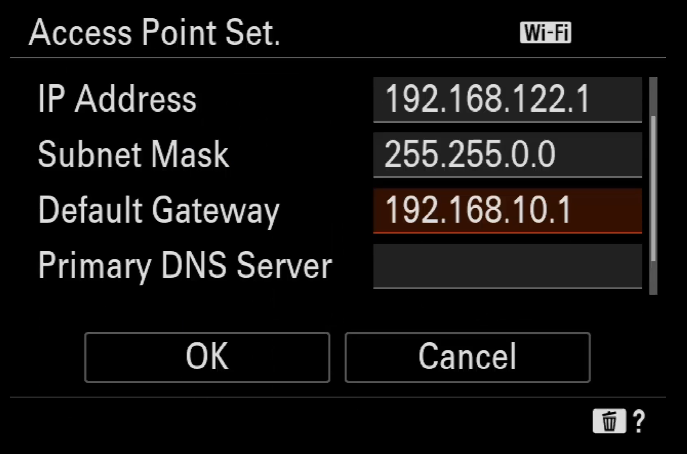
STEP 6
Fill IP addresses and masks:
192.168.122.1 255.255.0.0 192.168.10.1
Confirm OK
Camera will now re-connect the ENTIRE
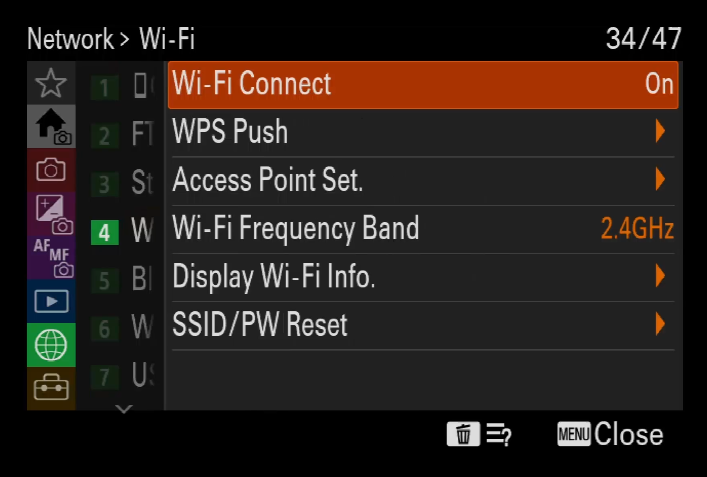
STEP 7
Once connection is done, scroll up to “Wi-Fi Connect” and turn it ON
STEP 8
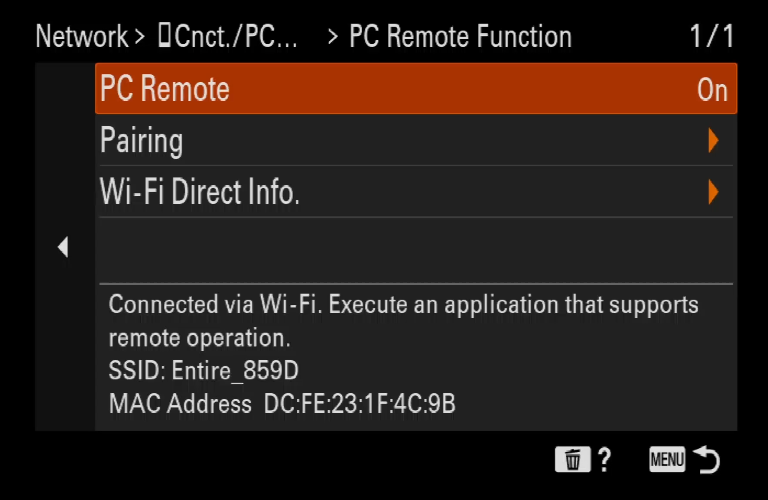
Navigate to: NETWORK->Cnct./PC Remote->PC Remote Function->ON
STEP 9
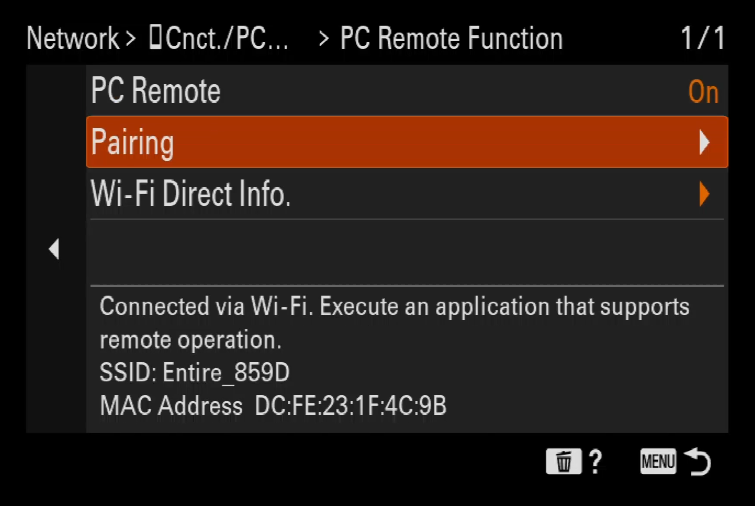
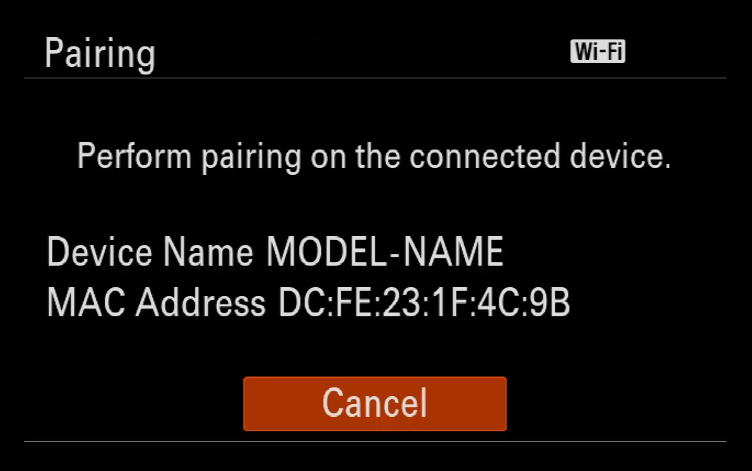
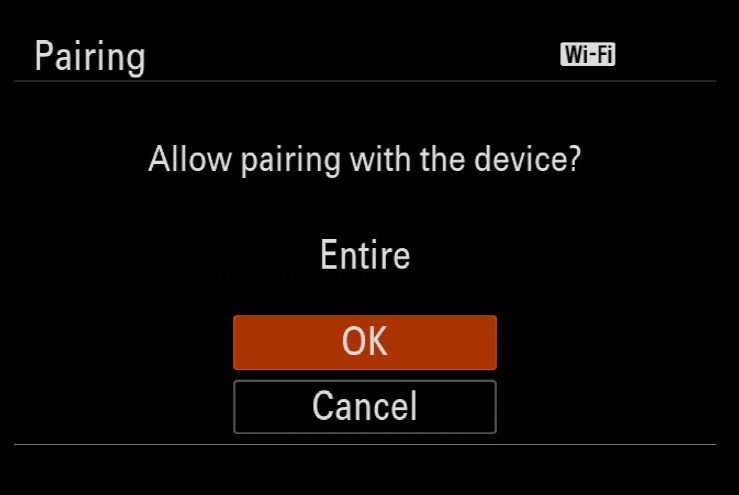
Now scroll to PAIRING and enter item
Wait for initialization
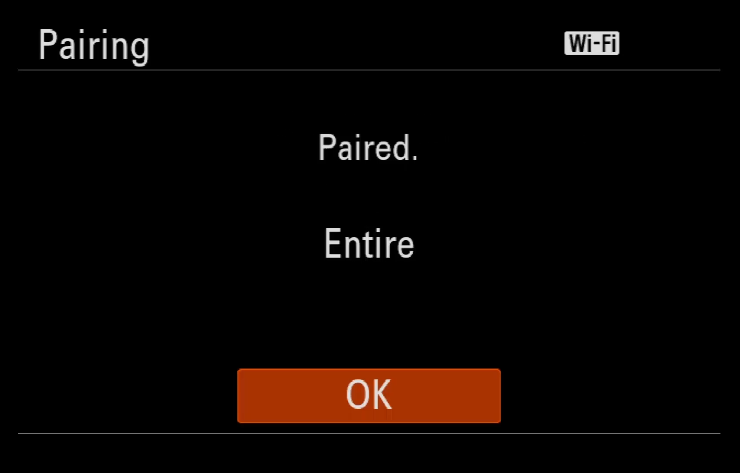
Once pairing confirmation for the ENTIRE shows, confirm OK
*** YOU HAVE TO REPEAT THIS STEP AFTER EACH UPDATE OF THE ENTIRE FIRMWARE ***
STEP 10 – EXPOSURE CONTROL TEST
WiFi control should be now available together with the geotagging via USB. You can control exposure values via MavCam / ENTIRE’s web page, AIR Commander Link or MissionPlanner plugin.
STEP 1: Connect the gimbal to Gtune software by USB cable
STEP 2: Open Gtune then navigate to SETTINGS -> PROFILE -> IMPORT -> CHOOSE THE PROFILE EVO Cable -> LOAD
Download the cable configuration profile here: https://github.com/Gremsy/PixyLR-Firmware/releas
This cable cannot switch between Herelink and Joystic mode directly on the MAVCAM application screen, users need to determine the gimbal control mode and select it in advance using gTune.
Step 1: Turn on SBUS out on Pixhawk (More information: VioZio Control Cable)
Step 2: Select Herelink mode on gTune.
Step 3: Reboot system and control gimbal with "Scroll Wheel" and "CAM short press" buttons.
Step 1: Select MAVlink mode on gTune.
Step 2: There are two cases:
If the customer's remote has enough "Scroll Wheel" or stick for three axis of gimbal, the setup controls the gimbal using the following link.
If there are not enough nodes for the axis, the client can control the PAN/TILT gimbal using the MAVCAM app's Joystick and the following functional buttons:
This gimbal cable is connected directly to Pixhawk so users can create maps as usual using the QGroundControl and Mission Planner applications.
More information about creating maps: Link Here


